

Introducing Quartz Laminate – how to apply the film, examples of finished pieces, benefits of using it with Allure Photo Panels, and more!
We’re taking our aqueous direct-to-surface Allure Photo Panels to the next level with a new product called Quartz Laminate Film.
Quartz is a clear polyester with a solvent acrylic pressure-sensitive adhesive designed to allow you to:
- Achieve amazing depth and crisp detail in your prints
- Protect your prints and improve their longevity
- Apply any finish you want to your Aqueous Allure print
That’s right, in addition to improving the already stellar clarity and longevity of Allure, Quartz gives you the ability to apply a gloss, matte, or luster finish to your print.
With Quartz, you have more control than ever over how your prints will represent your images.
So let’s get into how it works. (Hint: It’s pretty darn easy.)
How Do I Use Quartz?

Applying Quartz to your Allure print is a simple process.
Here is what you need:
- A printed image on Aqueous Allure Photo Panel
- Roller laminator
- Dust Removal System
- Xacto® Knife
- Quartz Laminate Film (Smooth Matte, Luster, or Gloss)
1. Cut and Peel

The first step is to cut out the right size of the laminate you need. Make sure the cut sheet is slightly larger than the image on Allure by about 1.5 – 3 cm (0.5 – 1 in.) on each side.
With the laminate side face down on a flat surface, peel the protective layer of the laminate from the corner.
2. Crease and Apply

Peel about 1.5 cm (0.5 in.) of the protective layer and then fold it down. Be sure to crease it down hard so the protective layer doesn’t fold back into place.

Notice that we printed the image on Allure with some bleed room. We did this to give enough room for the laminate to be applied without getting any fingerprints on the actual image.
Place the laminate onto the bleed area of your metal image. Press down firmly and make sure the laminate is evenly spread across the metal sheet.
Once it’s down, it’s down. Do not attempt to re-adjust the laminate after applying it.
3. Cut the Top

Once you applied the laminate, use your Xacto® Knife to cut off the excess laminate from the top of your image. This helps the image go through the laminator with ease.
Now, on to the laminator!
4. Set Up Pressure and Clean

Before you start, you should make sure the roller is tightened at the right pressure.
Note: If you tighten it too much, the roller may start bowing, and as a result, you may see some silvering on your image.
To get the pressure just right, rotate both clamps clockwise (the black knobs in the photo above) just enough so that the top roller makes light contact with the bottom roller. Then rotate both clamps approximately 1/2 of a turn (180°) clockwise to get the perfect pressure.

Now place the metal sheet down onto the laminator and flip up the laminate across the top of the roller.
Use a Dust Removal System Roller to clean up the image, making sure to get rid of all the dust that may be resting on the surface of the image.
Now you’re ready to roll!
5. Roll Slow and Keep Cleaning

Carefully peel the laminate up across the roller. While holding up the edge of the peeled back release liner with one hand, turn on the rollers.
Make sure you roll at a slow speed. By rolling it slow, the roller will apply the same pressure to the entire image. It will also allow you time to carefully and continuously clean your image as it moves through the roller.
Be sure to constantly pull the laminate up as the image travels through the laminator. Don’t let it get caught in the roller!

Make sure you continuously clean your image with the Dust Removal System Roller until every part of the image enters the laminator.
This is important in helping to keep the image clean from dust or debris that may fall onto your image during the laminating process.
Note: Make sure the image is consistently moving, don’t stop until the entire image has passed through the rollers
6. Cut All Sides

Once you’re finished rolling the image through the laminator, use an Xacto® Knife to cut off the excess laminate from all sides.
That’s it! You’re all finished!
Examples of Quartz Gloss, Matte, & Luster

To further illustrate how Quartz looks like on our Allure Photo Panels, here are some photos showcasing the different finishes.

Top to bottom: Quartz Gloss, Luster, Smooth Matte, and unlaminated image.
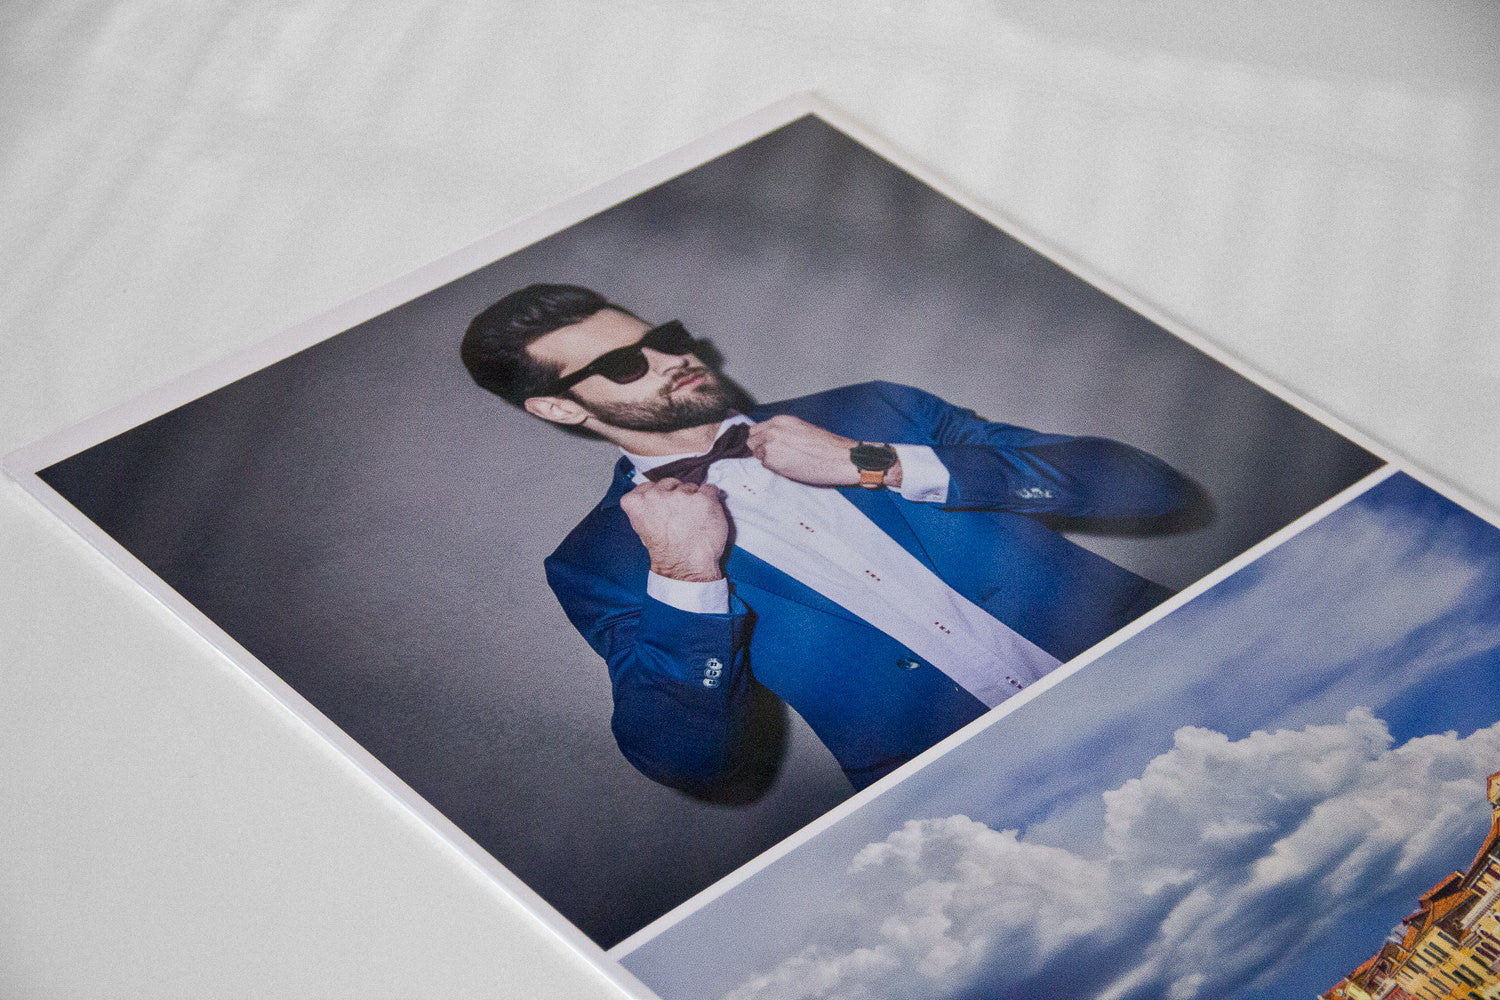
Here are other comparison shots. The images on the left are with Quartz Gloss and on the right are the unlaminated images.
You can see the light source being reflected off the glossed images.


As you can see, the laminate adds more color depth and contrast to the image.
We do want to stress that adding laminate isn’t required, but it does help you achieve any sort of finish very easily.
If you prefer the unlaminated smooth matte look, go for it! Just keep in mind that this is a piece of fine art and is just as delicate as any other fine art media.
If you understand the delicate nature of a fine art print, going without a laminate is definitely a possibility.
But, if durability is a concern, we highly recommend Quartz. It has enough durability to go through your regular wear and tear.
Benefits – Allure With Laminate Vs. Dye Sublimation

Without laminate
With Quartz Gloss laminate
Using Quartz with your Allure Aqueous print will add protection and longevity to your print.
As you can see in the parrot image above, it will also add amazing color depth and stunning contrast to your image.
This method of printing lends to more flexibility in comparison to printing with Dye Sublimation.
All you need to do is print direct and then customize your print with the available 3 finishes of Quartz.
You have the ability to stock one grade and then create any finish on demand without needing to re-stock all the inventory.
We hope you’re as excited about this innovation in our Allure workflow as we are.
Ready to start testing out new finishes on your metal prints? Quartz is available now on the BC store in a range of sizes.
We can’t wait to see what you’ll create with Quartz and Allure.
