Improve your photo editing workflow by optimizing your computer for image editing – tips to increase efficiency and tools to boost performance.
Many photographers look for tips on how to optimize their hardware for productive image editing.
We all want to be able to work as efficiently as possible, using the very best tools at the very lowest cost.
But, alas, our budgets don’t always allow all the best tools, so we have to make trade-offs. Whether you’re buying a new computer, or upgrading a computer you already own, it’s good to know where bottlenecks in image editing workflows exist and what can be done about them.

Use this two-part article to evaluate each area of your workflow, with an eye toward identifying areas that may benefit from improvement.
Part one will look at everything inside of your computer, while part two will be about everything outside of it (things that you plug into your computer).
For those who don’t have an unlimited budget, this article will help you identify where you should spend your money for maximum impact and efficiency.
Let’s get started.
A Quick Efficiency Check in Photoshop
One of the quickest ways to know if you’re working at optimal efficiency is to check Photoshop’s efficiency indicator.
In any image window in Photoshop, there will be a pop-up menu at the bottom left of the window. I usually keep mine set to show me the ICC color profile that’s being used by the current image. However, you can change this to show Efficiency.

When you do, a percentage value will display, 100% or less. If the value is below 100%, Photoshop has used all available RAM on this image, and is using the scratch disk, retarding its performance. The lower the number, the less efficiently you’re working in Photoshop.
Use this to monitor performance as you work for a while, and if the number is consistently below 90%, Photoshop needs you to either allocate more RAM to it, as discussed later in this post, or add more RAM if you need more to allocate.
Both topics are discussed in this blog post.
CPU; the Brains of the Computer

Some people think that the most important part of their computer is the CPU (central processing unit), the main chip in the computer.
We hear often of Moore’s law, a rule of thumb that the number of transistors on a chip doubles every 18 months, and by extension, the power/speed of the chip increases also. This has caused many people to think they must always be upgrading.

However, many other parts of their workflow may be slow enough that upgrading this one component will have much less effect than desired.
Much of a digital imaging workflow is about the speed of the input, throughput and output, not just the computational operations, so a good balance must be struck.
In many ways, it’s much like a chess game, where you have to balance competing goals (defend your position, advance your advantage, and execute an overall plan) in order to make the best win for your needs.

I recommend finding the sweet spot, buying less than the very fastest CPU, and using the saved money to enhance other parts of the system.
Let’s look at choices for one popular system as an example of how to decide. While this is an Apple iMac, the process of reviewing a site’s multiple choices for a system configuration is valid for both platforms.
Apple offers current iMacs with two different chips (Intel i5 and i7) with 2 to 4 cores, rated at various speeds. An i5 chip with 2 cores is not nearly as efficient as an i5 chip with quad cores (4) for image editing.
So, go with the 4 cores if you are editing images in Photoshop or Lightroom; the entry-level iMac is not designed for image editing, and the cost difference between an i5 chip with 2 cores running at 1.6 gigahertz, and an i5 chip with four cores running at 2.8 gigahertz is $200.
This is definitely money well spent, unless you like waiting, and waiting, and waiting…

Photoshop can take advantage of several cores, but more than 6 cores is a sharply diminishing return. So, go for 4 minimum, and 6 if available. Chips with 6 cores are available in some Windows machines, but they are only offered on the top of the line Mac Pro, not the iMac.
Speaking of the Mac Pro, two CPUs don’t offer much benefit over one CPU, as reported by various Photoshop testers. Purchasing more than 6 cores on one chip will be wasted money as well, since image editing apps don’t seem to be optimized to take advantage of more cores.
While you’re shopping on the Apple iMac page, notice that the least expensive iMac and the next one up (one with 2 cores, one with 4 cores) have a standard display that will show you color in sRGB color space.
You have to spend another $200 to get the new Retina Display, which displays in the P3 color space, very desirable when editing images. With $200 here, $200 there, pretty soon you’re talking real money, but it’s worth it to know you’re going to have a very good image-editing machine.

Next, look at an i5 vs. i7 chip. These are extra cost (currently another $200) options in iMacs, but they’re worth the investment for heavy duty editing, and will extend the useful life of the machine.
Same holds true for Windows systems. As with the i5 chips, the i7 chips are made to run at different rated speeds, with temporary bursts of speed (Turbo Boost) available when needed.
If you have options for multiple i7 chips at different speeds, should you pay that additional several hundred dollars so you can have bragging rights for the fastest chip in your new computer? Probably not, unless you have an unlimited budget, or, as on Apple’s site, you are allowed only one choice for an i7 chip.
The speed of your computer’s image processing is tied to multiple other factors, and it’s smarter to invest more money in other areas than it is to have the very fastest CPU. Extra RAM, particularly!
If you have a computer with interchangeable CPUs, meaning mostly Windows desktops, you can consider upgrading your CPU down the road, when prices will drop as even faster CPUs hit the market, pushing current models’ prices down.
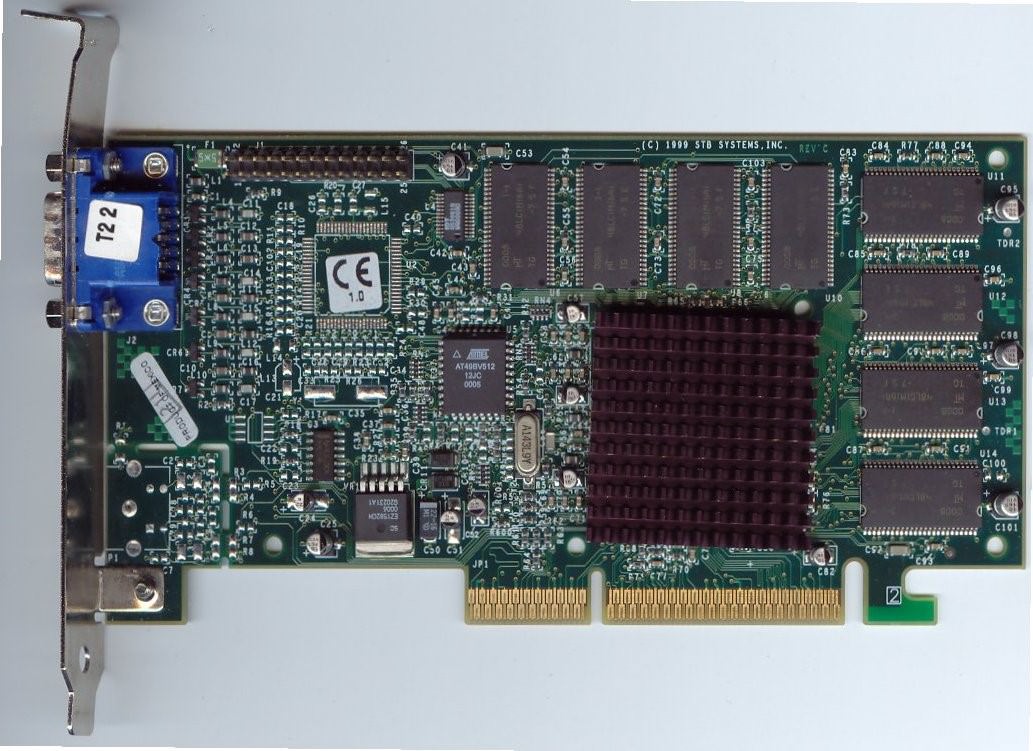
GPU (Video Card)

Once upon a time, the only task that a GPU (graphics processing unit) had to do was to put images on the screen.
With the rise of certain applications, among them fast paced video games, the video card was asked to do more and more work to keep up with the speed of the action.
Software engineers realized there is an incredible amount of processing power in these video cards, much of it untapped by non-gamers.
They started using the video card to augment the processing power of the CPU, and now, a significant amount of the functionality of Photoshop works best with a powerful video card, including items in the following list:
- Artboards
- 3D
- Scrubby Zoom
- Birds Eye View
- Flick Panning
- Smooth Brush Resizing
- Image Size – Preserve Details
- Select Focus
- Blur Gallery – Field Blur, Iris Blur, Tilt-Shift, Path Blur, Spin Blur (OpenCL accelerated)
- Smart Sharpen (Noise Reduction – OpenCL accelerated)
- Oil Paint (OpenCL accelerated)
- Render – Flame, Picture Frame, and Tree
- Perspective Warp
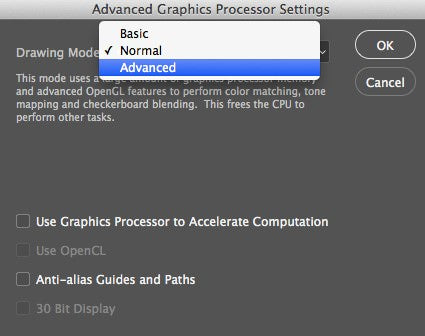
You’ll want to check in Photoshop’s preferences to see if your Graphics Processor settings are set to use your GPU.

Further, you can click on the Advanced Settings button at right in the screen capture above, and you’ll be given choices, as shown below.
The rollover tool tips will help you choose the match best for your specific workflow needs. This Window is where Open CL is enabled, for example, which several of the items in the list above use for best performance.

Lightroom and the Power of the GPU
Lightroom CC/ Lightroom 6 is the first version to use GPU acceleration. Lightroom users won’t see as much of a speed boost in this initial release as they will going forward.
Much of the initial functionality is tied to helping Lightroom take full advantage of bigger, high-resolution displays. If you have an older machine, a smaller display, or a slower GPU, you may not see much benefit.
If you have recently updated to Lightroom 6 and your machine is actually running slower, some users have gotten relief by turning off the GPU acceleration, a seemingly counter-intuitive move that has worked for them.
Go to the Preferences, and then Performance, to turn this acceleration off. Test and see if you get better performance with it Off, or On.

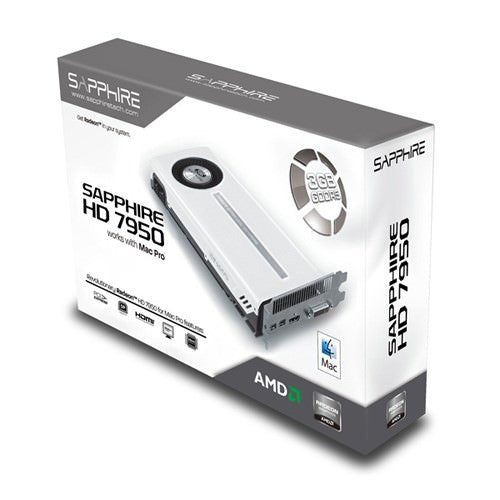
If you have an older computer, and aren’t ready to take the plunge to buy a whole new system, it’s often an excellent investment to buy a new video card to speed up processing much of the work you do in Photoshop or Lightroom.
For example, Other World Computing sells a video card for upgrading the Mac Pro silver towers that is very popular.

Particularly in earlier models, replacing the video card provides a major jump in speed for image processing.
OWC is also offering a new product that replaces the CPUs in silver tower Mac Pro models, another option for extending the useful life of this machine.Gaming frame rates are increased by over 200%, general benchmark performance increased by around 30% and graphics intensive benchmarks increased by as much as 300% compared with the NV 8800GT commonly used in these machines – OWC.

Unfortunately, it’s rare you can upgrade components used in most laptops, and it’s never been possible to upgrade anything other than RAM in iMacs.
So, buying the best video card, as much RAM as you can get (when hardwired to the motherboard) and other things that can’t be upgraded makes (expensive) sense.
Windows desktops owners, by contrast, have access to better video cards at better prices than Mac users, and should seriously consider whether it’s time to upgrade GPUs, RAM, and hard drives to extend useful life.
How Much RAM Is Enough?
Memory is an area where many photographers indulge in false economy. Please don’t.

Random access memory (RAM) is used by Photoshop and Lightroom to hold your file temporarily while you work on it.
If you quit the program, or you have a power flicker/failure, your work disappears, unlike saving it to your hard drive, which is permanent storage.
This memory is less expensive than it’s ever been, and it’s amazing to think of how much RAM you can put in your computer for so little money. Photoshop or Lightroom will happily use more RAM to speed up your work.
More RAM is one of the least expensive components to upgrade, and one of the best ways to improve the user experience of working on your computer and extending its life. This is one case where more is a really good idea.
A friend tells a story about RAM purchases in the early days. In order to run a new scanner he’d just bought for $100,000, he had to spend $40,000 on 8 MB of RAM. Note that this is megabytes, not gigabytes! My, how things have changed.

Most computers can be upgraded with more RAM after you purchase, but some require that you select the amount of RAM you’ll always have at the time of purchase. This is because the RAM chips are permanently wired to the motherboard, and can’t be swapped out.
Hard-wiring means that you may pay a great deal more for RAM in certain models, because you cannot use third-party RAM chips, so you must pay whatever price the seller demands.
So, returning to my review of ordering an Apple iMac optimized for image editing, I could order the 21.5 inch iMac, with 8 gigabytes of RAM, the base amount, or spend $200 to upgrade it to 16 gigabytes of RAM, the maximum amount.
I can’t upgrade later, so if I want adequate RAM, I have to buy it now.
By contrast, I can order the 27” iMac, with the minimum amount of 8 gigabytes of RAM, and because that machine can be upgraded by the user or technician, I can add RAM myself up to a total of 64 gigabytes of RAM, 32 more than the maximum Apple offers online, for only slight more money for the 64 than Apple charges for the 32.
I can opt for less RAM, such as 32 gigabytes of third-party RAM, for less money than Apple will charge me, still backed by a lifetime warranty.

When faced with a budget decision between buying the fastest chip, or as much RAM as will fit the budget (and the computer), I always recommend more RAM over the top-of-the-line, fastest-rated CPU. Be greedy for RAM!
When configuring Photoshop’s RAM, the Preferences panel shows a range of percentages to choose.
I usually put mine at the top of the recommended range, shown in this screen capture at 70%. Photoshop will thus use 70% of the total RAM in my computer. The rest is used by the operating system and other applications I may have open at the same time.
Of course, this machine only has 16 gigabytes total RAM, so Photoshop needs that much. If I had the option of 32 or 64 gigabytes of RAM, I might allocate a lower percentage of RAM to this one program.
On the other hand, Adobe advises that if you have no other applications open, you can allocate 100% of available RAM to Photoshop.
This is tempting, but in my workflow, I never have the opportunity to work solely in Photoshop, so I’ll never allocate 100%. Feel free to experiment with different percentages, which Adobe recommends, to see what the optimal setting is for you.

Whatever the size of your open file is, Photoshop wants five times its size available in the amount of RAM it will use to work on it. With contemporary cameras, larger file sizes require more RAM than ever.
So, if I open one RAW file from my Nikon D800, Photoshop wants half a gig of RAM just to start with that image from the beginning. At the same time, other applications, and the operating system all want RAM as well.
If I start adding layers in Photoshop, and some of my images can have 20 or 30 layers before I’m done, the file grows to a huge size very quickly.
The more RAM, the better; otherwise, I can expect to wait a while as Photoshop swaps parts of the file to the hard drive and back. Of course, if I have more than one file open in Photoshop, each file requires more RAM, or the file swapping will take longer and longer.

When the file can’t be completely handled by Photoshop in RAM, Photoshop starts writing some of the file to a part of a hard drive called a scratch disk.
This is a temporary storage area on your hard drive where Photoshop stores the non-active part of the open file, swapping back-and-forth as needed.
The scratch disk swapping slows the program down, particularly on larger files. You need a scratch disk (it’s installed automatically by Photoshop), but you don’t want to be slowed down by it any more than necessary. We’ll say more about scratch disks in just a bit.
Lightroom doesn’t offer a control such as the one from Photoshop controlling how much RAM is allocated to Photoshop’s use. Adobe simply advises that 16 gigabytes of RAM is a good idea, especially when you have other applications open at the same time as Lightroom.
A word to the wise should be sufficient, no?
Next: Part Two
So you’ve got a fast enough machine to handle your workflow, but what’s speed good for without the storage space to work with your files?
In Part Two – an overview of your internal storage options for all price ranges. Plus, how to boost your file transfer speed and some other preferences you can set for optimal performance.

Kevin O’Connor helps design and test software, is a graphic designer and photographer for multiple clients and companies, and fixes people’s (and companies’) color.
He has consulted to multiple companies, including Apple, Sony, Fujifilm USA, and X-Rite. He loves teaching good color practices to enthusiastic learners.


