

An overview of the Photoshop Brush Tool, tips and tricks on how to use it, and a range of applications it can be used for.
They might look simple but most of them have a lot of integrated customization technology that provide artists a lot of freedom and control beyond what the obvious purpose might seem.
Take the Brush Tool, for instance.
Introducing the Brush Tool
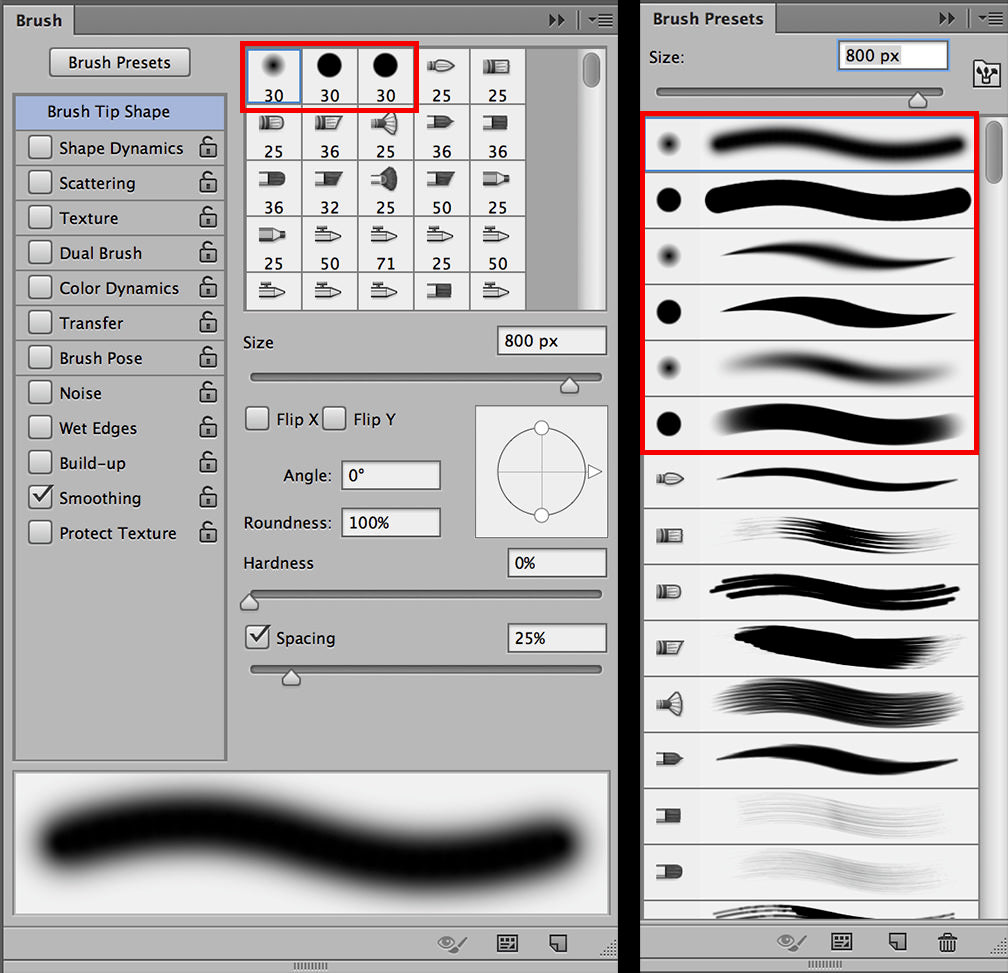
The Brush and Brush Preset Windows contain many preloaded brushes, and for each there are options to change or refine options like smoothness, texture, tip shape, etc to one’s personal taste. A stroke thumbnail is also provided illustrating what the stroke will look like when the brush is in use.

With so much to learn, we’re going to start by examining the basic brushes, the ones most commonly used for photo retouching. They reside at the top of the Brush Window as a set of three. Viewing them in the Brush Preset Window shows that they actually represent three sets of two variations, one with a soft edge and another with a hard edge.
The Brush Tool can be selected either by clicking on the Brush Icon in the Vertical Tool Bar, or by using the Keyboard Shortcut, B. Notice that tools with small arrows on the bottom right corner will open to fly out menu options. The Brush Tool contains options for the Brush Tool, the Pencil Tool, the Color Replacement Tool and the Mixer Brush Tool. When one of the other tools is selected in the fly out menu, its icon will replace the brush icon in the Vertical Tool Bar. Also notice that the Keyboard Shortcut is listed in the fly out menu so if you forget it, it’s there to remind you.

Once the Brush Tool is selected, different brushes may be chosen in the Brush Option Bar:

– or via the Brush or Brush Preset Windows; whatever is most convenient for the individual using Photoshop.
Brush Tool Presets
Edge Hardness
The first Brush Preset is the basic Photoshop Brush and is used for almost all photo retouching. The two variations provide uniform width and opacity throughout the stroke regardless of pressure with options for soft or hard edge.

The soft edged variation is the one of choice for most retouching brushwork. The hard edge is good for blocking things in and erasing. When using the soft edge brush, the tightness of edge can be controlled either by brush size or by adjusting the Hardness slider in the Brush Options Menu Bar. There is also a Keyboard Shortcut for adjusting the hardness on screen – Control Option on the Mac and Alt Right Mouse Click on PC. (Then drag up and down to adjust hardness or right and left to adjust size)
It is my preference to control the hardness of the brush with brush size because it is more accurate than “eyeballing” it on screen throughout a retouching process, but other artists enjoy the keyboard shortcut options, so please try them both and choose the option that you prefer. If the hardness is being controlled by brush size, note that a small brush provides a tight edge and a large one provides a softer gradient.

Most artists apply color on separate layers using big soft brushes and create various edge definitions by using Layer Masks and brushes of different sizes. This provides the ability to produce smooth gradient color with definitive edges in different degrees of sharpness. For instance when enhancing the whites of a person’s eyes, the color should have a hard edge next to the iris and a soft gradient fall off of color within the natural white area.

This sample, done in red, illustrates how the large brush provided a smooth, even application of color that is most intense in the lower portion of the eye right next to the edges of the iris. The sharp edges next to the iris and eyelids were created with a layer mask and the use of small brushes (sharper edges) to erase the overspray.
Once the shape of the color is perfect, the opacity of the layer may be adjusted to provide the delicate enhancement desired without going overboard.
Pressure
The second set of brushes is preset to change brush size according to the pressure used when making the stroke (only available when using a tablet and pressure sensitive pen, such as the Wacom Intuos line).

Once again, the soft edge variation is the one of choice for most photo retouching. Notice that the hardness of the brush changes with pressure:

– so it’s not a good option when a consistent edge is required, but it is a great brush for things that need to end in points, like eyelashes and hair.
The basic soft edged brush and the soft edged size to pressure brushes are the ones I use for nearly all of my photo retouching. The bulk of the work is achieved with the basic brush and hair, eyelashes and other pointed edged work is done with the size to pressure brush.
Opacity
The third set of brushes is preset to provide different opacity according to pressure. Light pressure provides light opacity and firm pressure provides more.

Artists that like to build opacity within a single application of color like these brushes a lot! The longer one “colors” the deeper the opacity becomes. I prefer to build opacity in layers because it gives me more leeway in creating gradients and varying degrees of opacity within an area, but, again, it’s a personal choice.
Opacity is how much color is applied with one stroke. Flow controls how fast it is applied. 100% Opacity applied with 100% Flow provides 100% opacity all at once. 100% Opacity at 10% Flow provides 100% opacity but it builds up more slowly (you have to “color” longer).
50% Opacity stops applying color when 50% opacity is reached. To get more, one must lift the pen and apply another coat.
Because I like to build opacity by layering, it’s common for my options to be set at 05-10% Opacity and 100% Flow. I’m able to layer smoothly but I’m getting the selected opacity all at once enabling me to work as quickly as possible. Everyone works differently but it’s good advice to choose settings that allow you to work as quickly as possible while controlling the medium (not getting blotches etc).
And, in addition to the option outlined previously to change brush size on screen, the bracket keys, next to the letter P on the keyboard will change brush size up and down. The left bracket makes the brush smaller; the right bracket makes the brush larger.
Tablet Shortcuts
Some artists program the bracket shortcut on their Wacom tablet, either as an Express Key or a Touch Ring option. My Wacom Touch Ring is set up to either change brush size or zoom in and out, depending on which toggle I use.

To set up the Wacom option, just access Keystroke from the upper left drop down menu and enter the keyboard shortcut you want to use for brush size:

I set mine up to make the brush smaller when I scroll left on the Touch Ring and larger when I scroll right because it feels more natural. I set up the top right position to zoom in and out, an option within the drop down menu, repeated the Keystroke for brush size on the bottom right and repeated the zoom on the bottom left.
This opens the tablet with the upper left option active for brush size, and when I want to use it for zooming I just press the center toggle to move clockwise to the top right, zoom. When I want to use it for brush size again I press the center toggle that moves clockwise to the bottom right, etc. This way no matter where I am on the Touch Ring the other option is available with just one press of the center toggle.
It’s simple but effective.
Using the Brush Tool
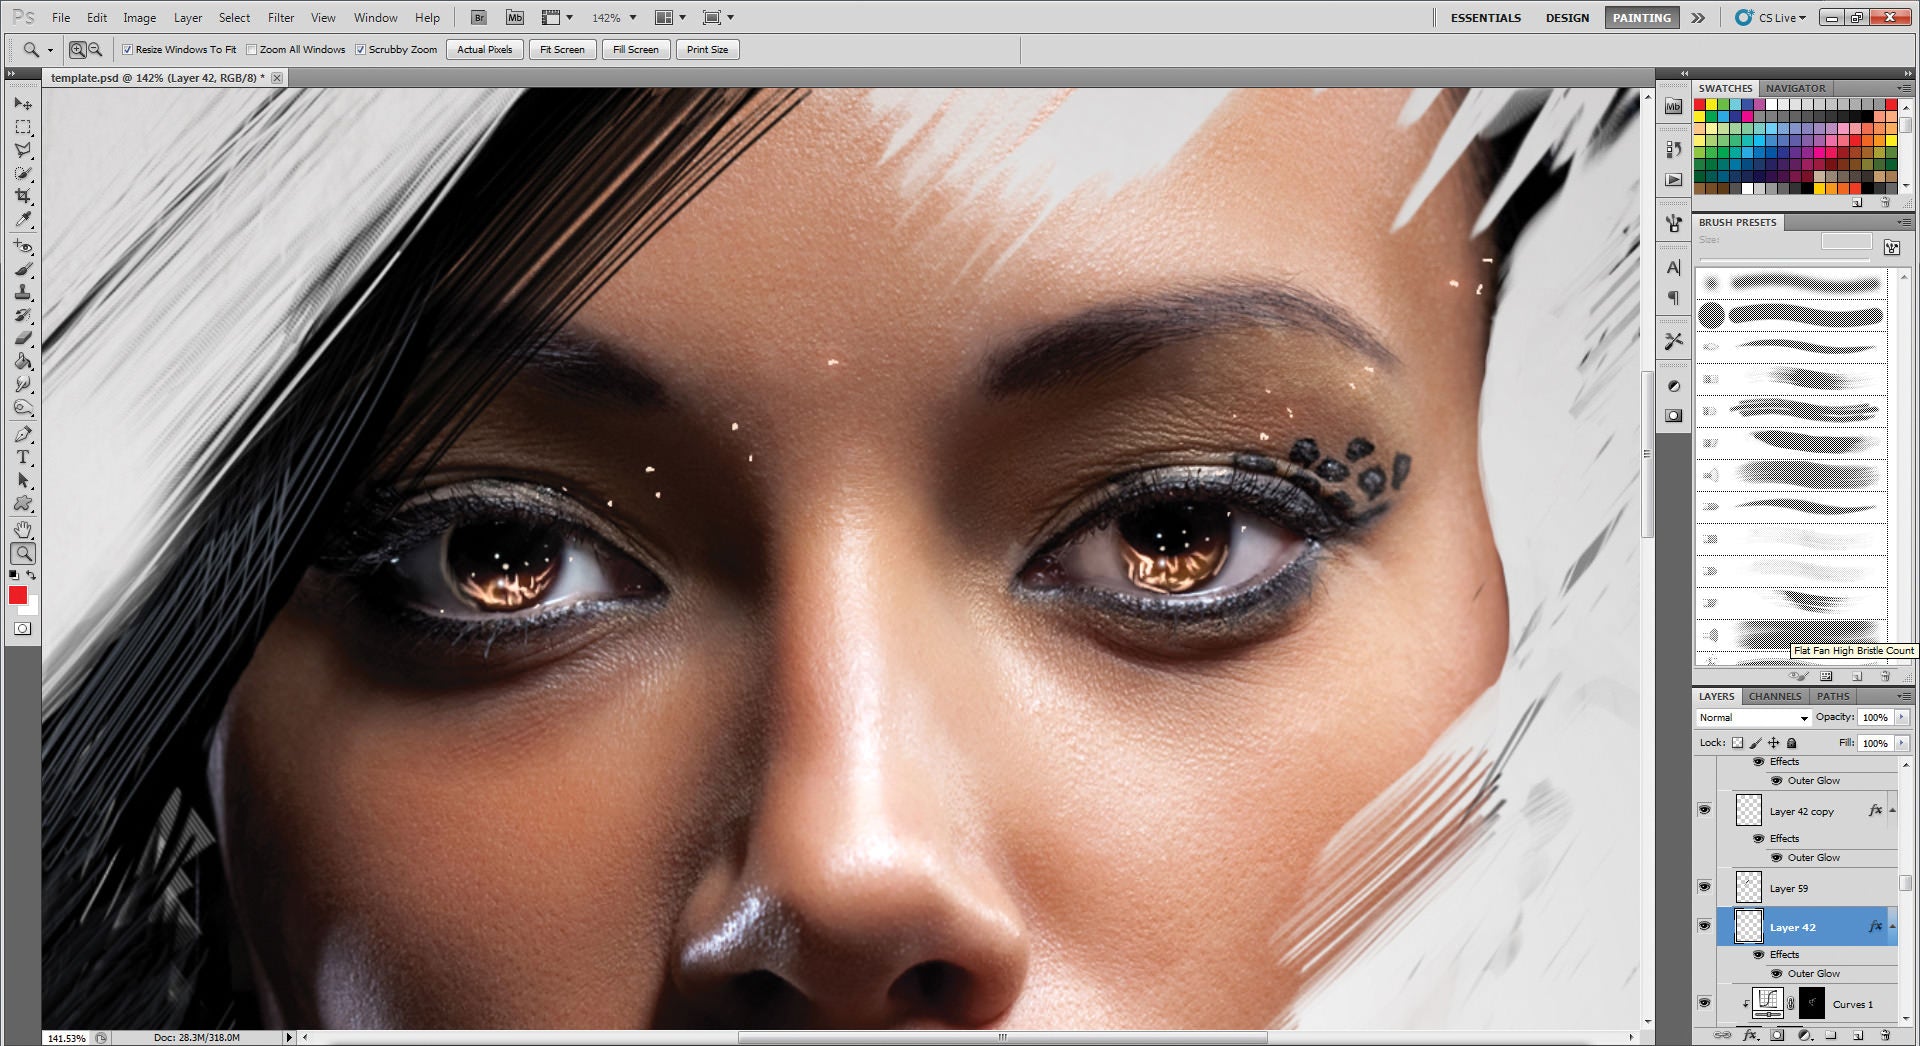
The basic brushes in Photoshop are good for simple sketching, painting and shading with the quality of airbrushing and for photo retouching (burning, dodging, masking, making vignettes, retouching backgrounds, skin and clothing, enhancing eyes, swapping heads, working with masks etc).
Brushes can utilize different blending modes, either by choosing one from the Brush Option Menu Bar, or by working on a layer with a blending mode selected.

An instance when an artist might choose to paint using a blending mode might be for tinting black and white images. Normal blending mode is opaque. Color blending mode is transparent:


Using the brush in Color Blending Mode should be applied to a pixel filled layer, like a Background Copy. The Background Copy is in normal blending mode. The brush will tint the pixels to the desired change – but one cannot erase overspray. Therefore most artists use the brush in Normal blending mode upon a New Layer that is set for Color Blending Mode. The blending mode of the layer overrides the blending mode in the menu bar.
Putting the paint upon a layer above the image provides benefits of erasing, using layer masks and adjusting the final color nuances and opacity prior to merging onto the image. One can make a lot of mistakes without consequence! When applying more than one color, use a separate layer for each.
There are a couple of other options for the Brush Tool, ones that I don’t use, but perhaps you will enjoy.

The option on the left chooses to always interpret pressure for opacity and the one on the far right chooses to always interpret pressure for size. When off, the selected Menu Bar options for opacity and size take over. The icon in the center enables airbrush style build up effects, meaning that color will continually flow and build up just the way it would if one was using an airbrush.
Conclusion
Understanding all of the options a tool has to offer ends the frustration of trial and error and allows artists to get exactly the results desired with ease and efficiency.
Though these are just the basics, they provide powerful creative freedom for photo editing and retouching.
In addition to what we’ve covered today, Photoshop contains options for infinite adjustments to the default settings plus the ability to make your own custom brushes, your own custom brush sets plus share your favorite brushes with other people – or buy or download theirs to load up and personalize Photoshop to be everything you want it to be for the way you like to work.

Jane Conner-ziser is an award winning photographer, digital artist, premier educator and independent consultant. With over 25 years of experience, 19 of them in digital imaging and evolving technologies, the techniques Jane developed for facial retouching and enhancement and portrait painting from photographs are widely emulated by photographers and digital artists worldwide through her classes, online training and educational products.
